We have discussed many basic tags of HTML in our previous post.
Here, we will see 2 important topics-
MARQUEE tag
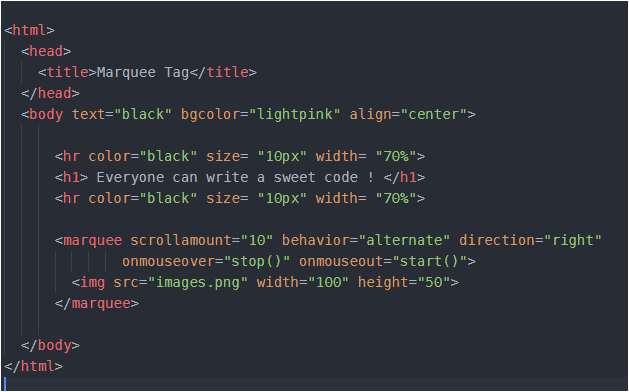
Marquee is such an amazing tag, you can play with it using some of its fascinating properties. You might have seen in some sites there is some image or a text which moves either from left to right or right to left or top to bottom or bottom to top. This movement is due to the use of <marquee>. Look below-
<marquee> tag has three basic properties – scrollamount (decides the speed of movement), behavior (this includes scroll, alternate or slide) and direction (it includes the direction of motion right, left, top, bottom). Try changing the result of these properties and analyze the result by yourself.
Instead of text, we can add any image or even a link to other page and it will also move in the page as per the properties which you will set. Let me now, quickly show you a code with image, as well as a link as a moving item-
In above code I have inserted two <marquee> tags. First <marquee> tag makes a image move while second one is the movement of link. And I have given that link a name ‘Be better at coding’. So you will see this line- ‘Be better at coding’ move and if you click on this line you will jump to some other web page. Remember that to insert any link in a web page, we use <a></a> anchor tag. And inside anchor tag we give the address of page, in which we want to jump, to href. And so, I have done the same thing.
If you run the code as it is, you will see some wonderful result. But again remember that the image should be in the same folder in which your HTML file is located. I have saved my image with “images” and so I have used that name in my HTML file. You should write your image’s name.
Now, while the link or image or text moves in the page, we have no control to stop that. But HTML provides some events using which, if you bring/hover your mouse pointer over that moving image/ text it will stop. And as soon as you remove your mouse pointer, the image/text will resume its movement. So, the two events are- onmouseover and onmouseout. We want that if we bring the mouse pointer over the image or even in its path of movement, it should stop moving and if we remove the mouse pointer over that image, it should start moving. These two actions – stop and start are performed using stop() and start() function. These will be implemented as follows-
I have tried to make this post simple. So, iof you have any confusion or doubt, share it in comments below so that it can be resolved.
HTML tags are of 2 types- Paired and Singular tags. Paired tags have opening and closing tags both. eg- <title></title>, <head></head>, <ul></ul>, many many are available. Singular tags include <br>, <hr>, etc.
We will discuss some mostly used tags here-
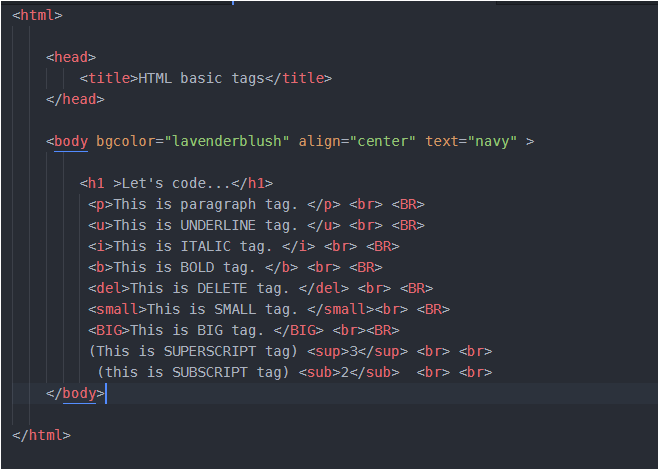
<h1></h1> – heading tag ; we have choice to select the size of heading from h1 to h6. Lets see how it is implemented-
You can insert any amount of text in between heading tags. I have copied and pasted the same sentence to make it simple. You can insert any text. Run the above code by yourself, you will see wonderful output.
<p></p> – paragraph tag . Any text other than heading can be inserted here.
<i></i> – italic tag
<b></b> – bold tag
<u></u> – underline tag
<small></small> – lessens the size of text
<big></big> – enlarges the size of text
<sup></sup> – superscript tag
<sub></sub> – subscript tag
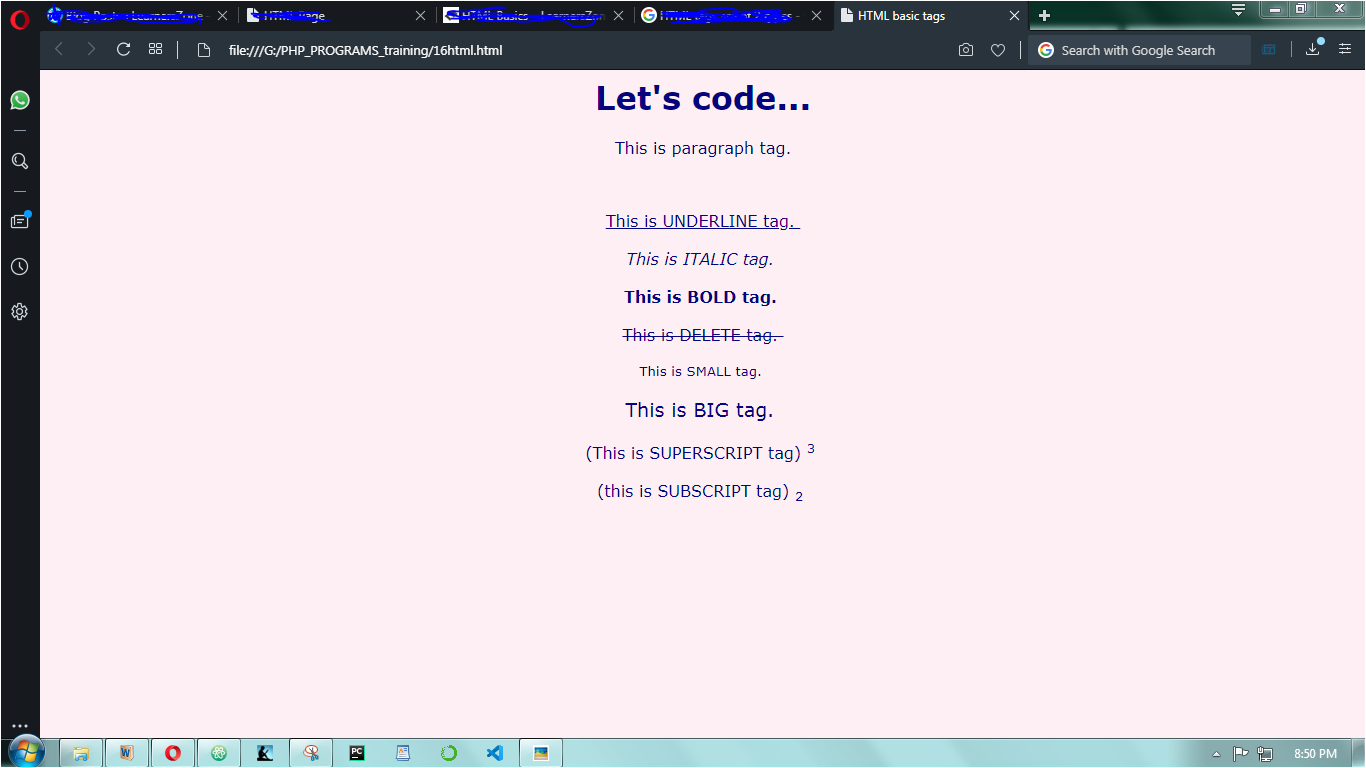
I will not explain above tags particularly. You can understand them by seeing the code and then its output.
and here is its output-
TEXT FORMATTING
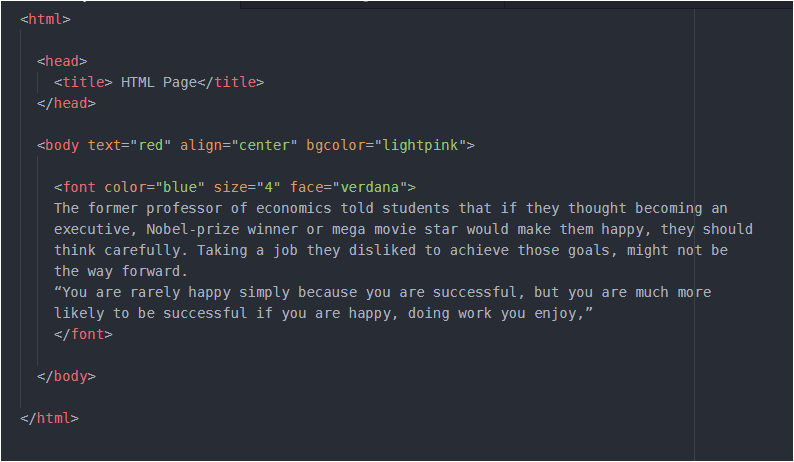
We can format our text using <font></font> tag. Remember this is a paired tag. I have used some of the font’s properties below like color, size, face, you can make some changes in this and see the result-
One important thing in above code, which you might also be thinking, is – we can select the color of text/content through text, which I have used inside <body> tag, then what is the need of color inside <font> tag and finally what will be the actual color of the content? Blue or red…
Okay, so through <font> we have the choice to change the color of each paragraph, (even) of each line also. (even we can format all the paragraphs differently). This can be done by inserting <font></font> before the line/paragraph which you want to format. Try it yourself and in case you face any problem, comment your problem here and I will give you the proper solution. Never hesitate, after all we are here to learn not hesitate.
And the property inserted at the is always implemented. So, the ‘blue’ color will override ‘red’, and finally text will be blue. The size used above ranges from 1 to 6 and by default it is 3.
IMAGE IN A WEB PAGE
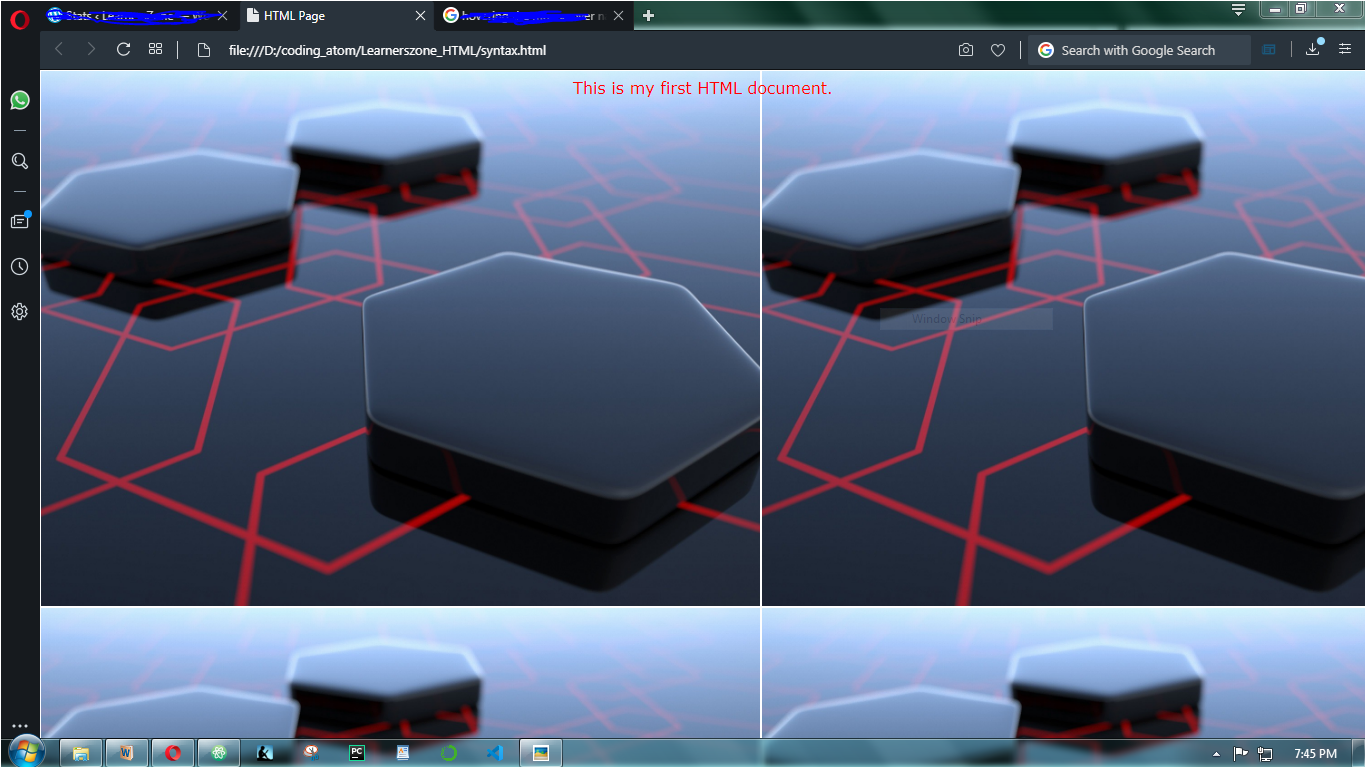
<img src= " " > We have seen how we can insert background image, we can also insert image in the page. Background images cover whole area of screen and we can write any piece of content in it since the whole page is covered with that image. But when we insert image(I am not talking about background image) in a web page, remember that it occupies its space and we cannot over them.The content will be shifted somewhere in the empty space of the screen. Let’s see how we can insert image, and some of its properties –
I have used my image named as “wallpaper”, you should use yours. But remember that it is saved in same folder in which your HTML file is saved. Try changing width and height. Here, alt is for ‘alternative text’. Imagine if your image is not displayed due to some reason, then this text will appear in place of image. border is used to border the image. By default the color of border is black, but you can change by writing text=”pink” inside <body> tag. Try it Yourself.
In order to bring image or anything in center, place that image/anything within <center></center> tag. Got confused somewhat, look below…
Remember, <img> is a singular tag since it has no closing tag, while <center></center> is paired tag.
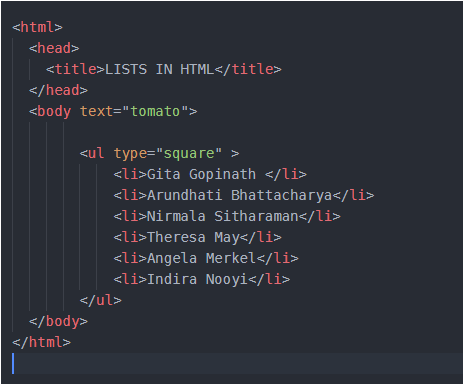
LIST
<ul> stands for unordered list and <li> for list item. Both are paired tags. The type property is ‘bullets’ by default but I have set it to ‘square‘. Run the code and see the result.
Following is shown an ordered list-
<ol> lists the item with numbering from 1 or from “A” or “a” or even in roman numbers.
We need to change the type for different changes. We can write “a” for numbering in small letters, “i” or ‘I’ for numbering in roman. In above code start tells that numbering should start from 4th position of type. In above code ‘D’ lies in the 4th position of english alphabet, so numbering will start from D, E, F… and so on. Please change the value of type and start and run your code for different different values.
If from any list item, you want to change numbering, it’s possible. Suppose you want that list item 3,4, 5, 6 should be numbered from U,V,W,X instead of C,D,E,F., you can try this-
here, in list item 3rd I have used one property value = “20” and in English alphabet 20 is for ‘U’. So it means from list item 3rd onwards counting will be from U. The value of start, value depends on the type used.
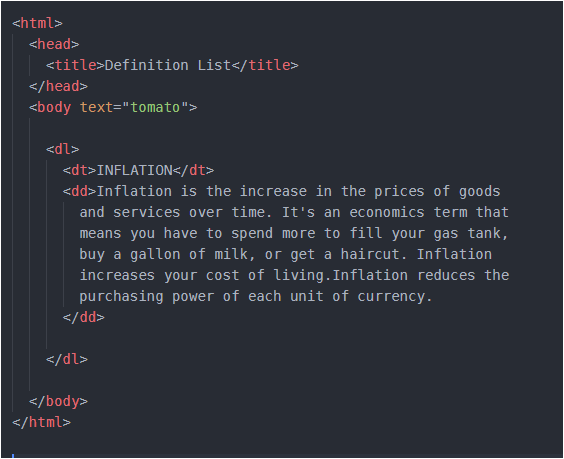
Definition List
This is used to describe some term with its proper term and definition.
Here <dl> is for definition list, <dt> is for definition term , <dd> is definition description. I wanted to describe the term ‘Inflation’ so I placed it inside <dt> and its definition inside <dd>. You may add more terms and see its output. Try it Yourself.
Navigation
Navigation is done using hyperlinks. These hyperlinks are those images/icons/text in web page upon clicking which you navigate to a completely different page. And this is done through <a> anchor tag.
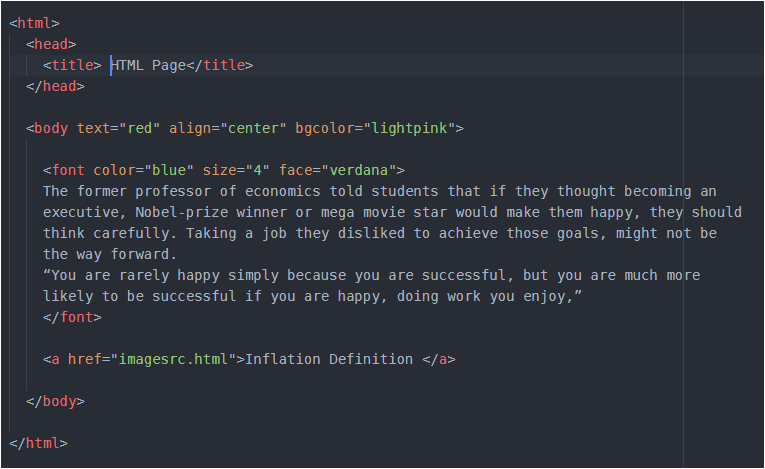
Remember the text formatting code we wrote before. Scroll above and first look at it. Got it… Now suppose in that, I want to add a link upon clicking which I should jump/navigate to my inflation web page.
First, look at the code below and then i will explain the things further-
The above code is same that we wrote during text formatting. Here look at the last line, I have used <a> to create a link to Inflation webpage and that Inflation web page’s html file should be placed in same folder. I have saved my Inflation html file with the name- ‘imagesrc.html’ so I have used it, but you will have different name, so place it here carefully. We can give that link a name, look that I have given it as ‘Inflation Definition’ between anchor tags.You may give it any name. Now as you will run your code in browser you will see a blue link with the same name which you gave, click on it and you will see that you are navigating to your definition’s page.
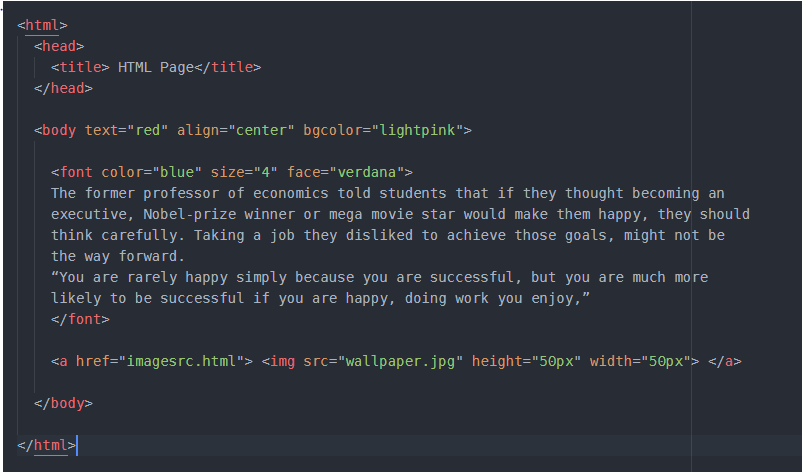
Instead of this text ‘Inflation Definition’ as link to other page, I can set my image as a link to other web page. So, it’s quite easy
Look at code below –
Look, I have only added my image named ‘wallpaper’ in between <a></a> anchor tags using <img> tag.
If you are having any difficulty, share your problem here in comments. I will look for solution.
HTML is Hyper Text Markup Language. It is used in designing of structure of web pages and these web pages when are linked together, they form a website.
Hyper Text is something more than the normal text. It is basically, the text displayed on the computer screen or other presentational devices with references (hyperlinks) to other text. Hyperlink is the link upon clicking which we navigate to some different web page.
Markup means that HTML is tag based language. It refers to the sequence of characters or other symbols(tags). Tags are, in some way, like instructions that are embedded into text to perform formatting. They signal web browser to add some features in the normal text.
HTML is interpreted by browser, it can be embedded in text to add formatting and links to other web pages.
Every HTML document(web page) starts with <html> and closes with </html>. The basic structure looks something like-
After <html> tag, comes the <head> tag. Inside <head> tag, we can have <title> or <style> or <link> or <meta> tag.
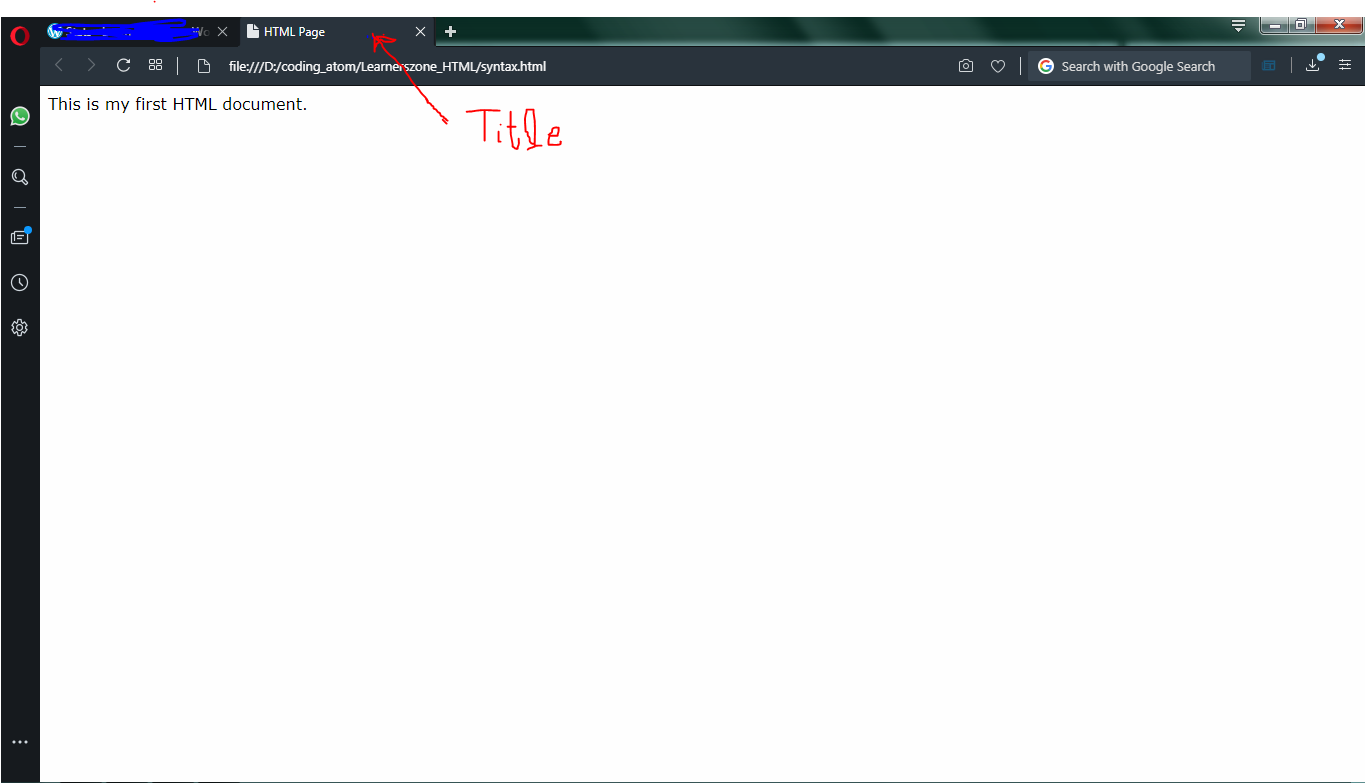
<title> tag encloses the title of your HTML document. Let me show you the output of above code in my browser…
Now you must have understood <title> tag’s use. Whatever the text we want to be visible in the white screen above, is placed inside <body> tag.
We can insert many properties inside body tag to make our content in the web page look good. Following are some commonly used tags-
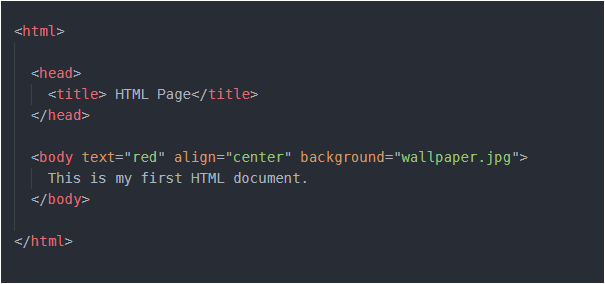
bgcolor – used to set background color of web page ; text – used to change the color of text in the web page ; align – used to set the position of text ; background – used to set the image in the background of page.
Here, the point to note is- keep the image in same folder where you have saved your HTML file. And it will be more good if you create your separate folder and store all the HTML files as well as all photos in same folder.
Many face difficulty in setting background. They pay too much attention in the extension of image and as a result they download some image from web and save it as “some_name.jpg”. This should not be done. You save it just with “some_name”, do not insert “.jpg” by yourself. It is automatically done. And even some images are of “.png” extension and many more extensions are available. So after saving your image, to know of what extension your image is – just hover your mouse over the name of image in the folder where you have saved. That will let you know the extension of image. And now you can insert that extension in your HTML file along with name of image.
So the output of above code is-
If you are unable to get the extension, please share your problem in comments here, I will suggest another solution.
Functions can be inbuilt or user-defined, inbuilt functions are ready made ones, these include array(), var_dump(), array_search(), there are many…
When we create functions, they are termed as user- defined functions. In user defined functions we pass some values in it those values are passed as formal parameters inside the function. Let me show you an example-
One thing to note in above code is- we can call our function anywhere in program irrespective of its position of function definition. In program, I have called calci() 2 times and it is valid in PHP.
The variables $a,$b,$c,$d are formal parameters and their scope is limited within function only. They do not exist outside function. While the values passed during calling of function 4,6,8,82 are actual parameters.
Imagine if $a, $b, $c, $d are prices of four items and what if price of $d remains same every time. We can do it in following way-
In above code, I have set $d as default value argument i.e. by default its value will be 82. In case you want to pass your own value, you can do so. In that case 82 will be over-written by your value.
What happens is – the values 4,6,8,82 goes to $a, $b, $c, $d respectively. When we make $d as default argument, the values 4,6,8 goes to remaining three variables.
Suppose we want to make $a and $d both as default value arguments, then ? We all will quickly do this-
function calci($a=4, $b, $c, $d=82)
and in function calling – calci(6,8);
But no, this is absolutely wrong . Because how will PHP know that it has to copy the value 6 to $b. PHP will copy 6 to $a and 8 to $b and then no value for $c, and no value for $d also. But remember that $d is in last and it has its default value, so no matter if $d gets value or not, it has it’s own value. But the problem is for $c. So what to do now? Relax and look at the following code-
What I have done is- I have written all default arguments ($a ,$d) at last. Now, the value 6 is copied to $b, the value 8 is copied to $c and no value is copied to $a and $d. But this is not an error here, because both of these have their default arguments with them.
So the conclusion is always keep default value arguments at the end of the list.
I hope this is clear, if not, then no problem comment your doubt here and it will be resolved and you will feel SUPER GOOD.
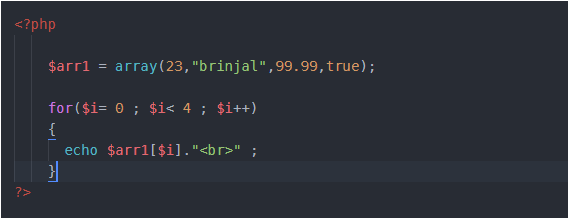
Arrays store multiple items, yes that’s absolutely true. But it’s different from the arrays used in C. In PHP, arrays can hold items of different datatype unlike in C. Following array is valid in PHP –
array() is an inbuilt function in PHP used to define/initialise an array.
var_dump() is also an inbuilt function used to display complete information about any variable. For an array, the information includes- size of array, type and index number of each item, length of string incase item is string. This function, var_dump() can be used with any variable. (Try it yourself)
To access each element, we could run ‘for’ loop or ‘foreach’ loop. I will explain the working of ‘foreach’ loop in 2D-array.
2D- arrays
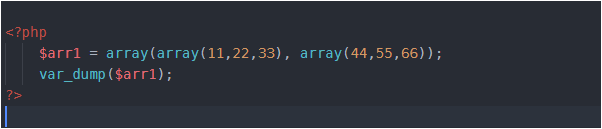
In above example, I created an array $arr1 with 4 items in it. As you can see first item in $arr1 is 23, what if instead of this 23, I create an array in its place. Got confused ! Relax and look at example below –
What I have done is- I have replaced 23 with an array of size 3 (11,22,33) and “brinjal” with another array of size 3 (44,55,66) i.e. arrays inside array. Thus I have created 2 arrays inside an array. Got it ! . This is 2D- array.
In above example, array with elements (11,22,33) is one row and an array with elements (44,55,66) is second row. Look below-
Now if you want to access 55, then you’ll write $arr[1][1] . Here, first 1 represents row number and second 1 represents column number. And you are aware that indexing starts with 0. Right !
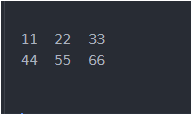
To access 2D-array, we can use either ‘for’ loop or ‘foreach’ loop. The working of ‘for’ loop is same as in C, so here we’ll see ‘foreach loop’ –
We need to pass 2 arguments in foreach loop. One is the array name and second any temporary variable which holds item present in array. So, first time when we used foreach loop there $item variable was holding first item in array $arr1 which is itself an array. This means we need to run one more foreach loop. Why ? Because we have an array as the first item inside $arr1. When we have reached second foreach loop, here $item is holding an array with 3 items in it (11,22,33) and the variable $local at first time will hold the first item in $item and it is 11, then it will hold 22, then 33 and at last we will be out of the second foreach loop. Now in the first foreach, $item will hold second item in $arr1 which is again an array. That means we need second foreach loop, and the values will get printed like this…
Associative arrays
Here, values are associated with their respective keys. Or we can say mapping is there. These look like as follows-
Each element/value is linked with its key. Here, ‘bot’, ‘OYO’, ‘swigggy’, ‘RomanReigns’ are keys and the values on right side of this symbol ‘ => ‘ are values. The symbol ‘=>’ is used to associate key with value. I have given random values just to make this funny, you may insert some meaningful data.
We can add some key value externally also as I have shown in above program. We can also have any datatype in keys and values, I have taken as string but it could be a number also , an integer or floating type.
There could be a question- what if, we add some value externally without specifying its key. Just as –
$verify[] = "onion"; (Try it yourself and see the result using var_dump($verify))
Some useful functions in array
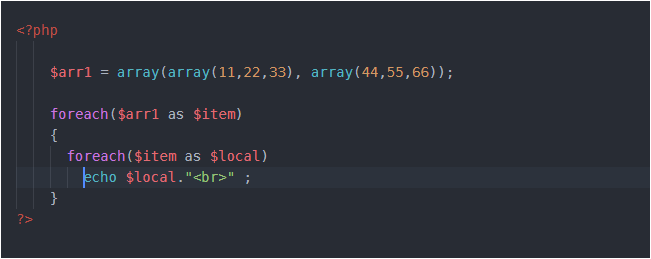
Here the important thing is to run above code and analyse the output carefully.
In above array remember, that total elements are 10 but indexing is from 0 to 9.
array_push() always inserts element at the end and outputs the position (not index number ) of last inserted item, the one it has just inserted. In above code, 44 will be inserted at index 10 but at position 11. Using var_dump, you’ll see that 44 is inserted at last.
array_pop() removes last element and returns the same .In our code the last inserted element is 44, so it will be popped out and returned.
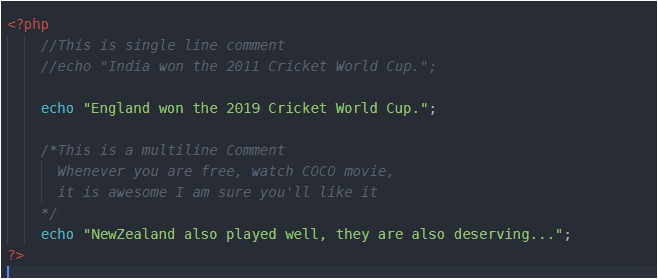
The way of making any statement a comment is same as in C or C++ –
Basic Syntax
PHP’s syntax is quite easy but there are 2 things you need to keep in mind while writing code in it-
PHP commands end with a semi-colon.
You must place a $ in front of all variables.
Variables
Variables are the containers which hold some value, value of any type. Variables are used with ‘$’ in PHP. There is no need to specify the datatype of variable as in C language.
Remember, string variables can hold the value either in double or single quotes.
$name = “Harry”; or $name = ‘Harry’; both are equal.
What if, to print prime numbers(upto 50) 5 times in a program, we write the same logic 5 times. Hard, right? Here comes the need of functions. So, with the use of functions we can access(call) the same logic as many times as we need in our whole program.
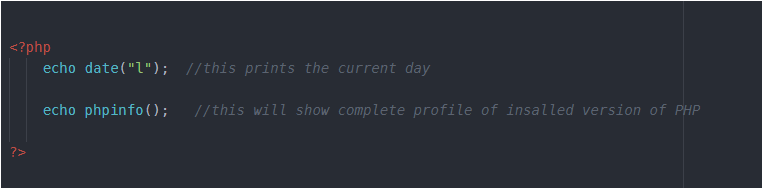
Let me first code some in-built PHP functions-
In the above code, date() and phpinfo() are the two functions. The parentheses in the function tell PHP that you are referring to a function, otherwise it would be a constant. Like this, there are hundreds of in-built functions.
Defining a Function
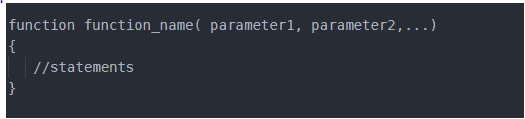
The general syntax of function is-
The first line of the syntax indicates the following:
A definition starts with the word function.
A name follows, which must start with a letter or underscore, followed by any number of letters, numbers, or underscores.
The parentheses are required.
One or more parameters, separated by commas.
Some important points to note are-
function names are case insensitive i.e.print() or PrInt() or pRint() all are same.
The opening curly brace starts the statements that will execute when you call the function.
a matching curly brace must close it. These statements may include one or more return statements, which force the function to cease execution and return to the calling code.
If a value is attached to the return statement, the calling code can retrieve it, as we’ll see next.
Returning a value
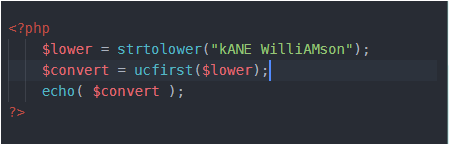
Let’s understand this with a very simple example. We’ll write a program that converts a person’s name in lowercase and then capitalize first letter of each part of the name. Don’t worry we have built-in functions for these tasks-
strtolower()- takes a string and returns the string as lowercase.
ucfirst()- it sets first character of a string to upper case and returns the converted string.
So, above code will output "Kane williamson" (First letter of name is capital, rest are in lowercase).
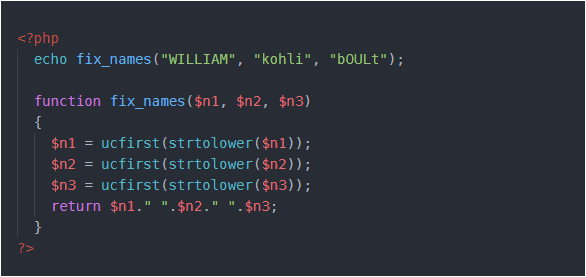
Now, let’s define a function that takes three names and makes each one lowercase, with an initial capital letter. The code for this is below-
I have combined both the functions in one expression- ucfirst(strtolower($n1)) .
Returning an array
Let’s re-code above code –
Here, I have used an in-built function array() , it takes elements as parameters and returns an array. I have stored the return value from the function fix_names() in the variable $names, which is now an array name and then I have printed the elements of array using their index number, separated by space.
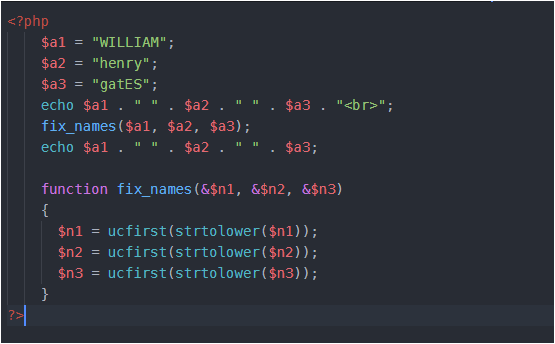
Passing arguments by reference
Look at this code carefully, CONCENTRATE…
The concept of reference is same as in C or C++. I will not go deep in it. Reference is an address of a variable, so when we change the value of a particular variable through its address, initial value is changed.
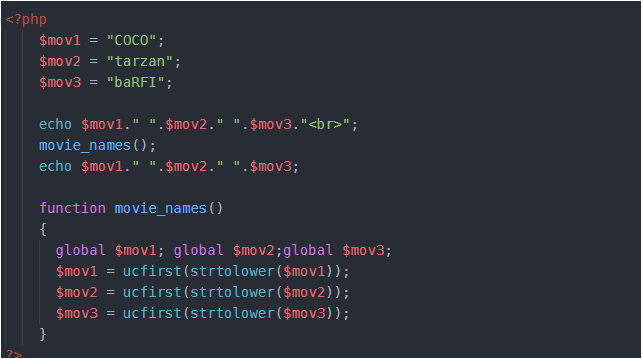
Returning Global variables
Following example explains this-
The global keyword followed by the variable name gives every part of your code full access to it. The global keyword followed by the variable name gives every part of your code full access to it.