

HTML tags are of 2 types- Paired and Singular tags. Paired tags have opening and closing tags both. eg- <title></title>, <head></head>, <ul></ul>, many many are available. Singular tags include <br>, <hr>, etc.
We will discuss some mostly used tags here-
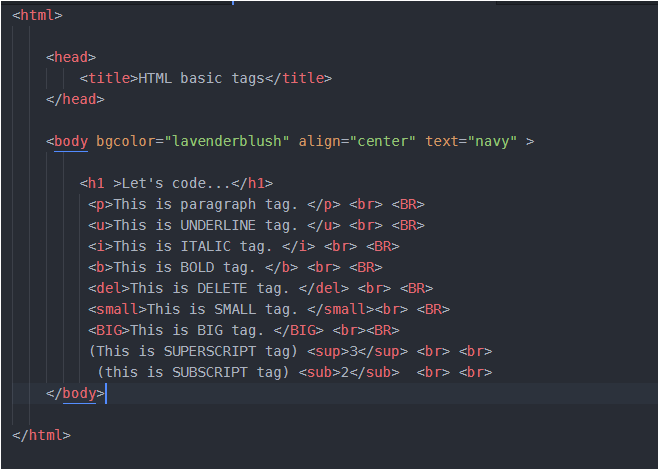
<h1></h1> – heading tag ; we have choice to select the size of heading from h1 to h6. Lets see how it is implemented-

You can insert any amount of text in between heading tags. I have copied and pasted the same sentence to make it simple. You can insert any text. Run the above code by yourself, you will see wonderful output.
<p></p> – paragraph tag . Any text other than heading can be inserted here.
<i></i> – italic tag
<b></b> – bold tag
<u></u> – underline tag
<small></small> – lessens the size of text
<big></big> – enlarges the size of text
<sup></sup> – superscript tag
<sub></sub> – subscript tag
I will not explain above tags particularly. You can understand them by seeing the code and then its output.
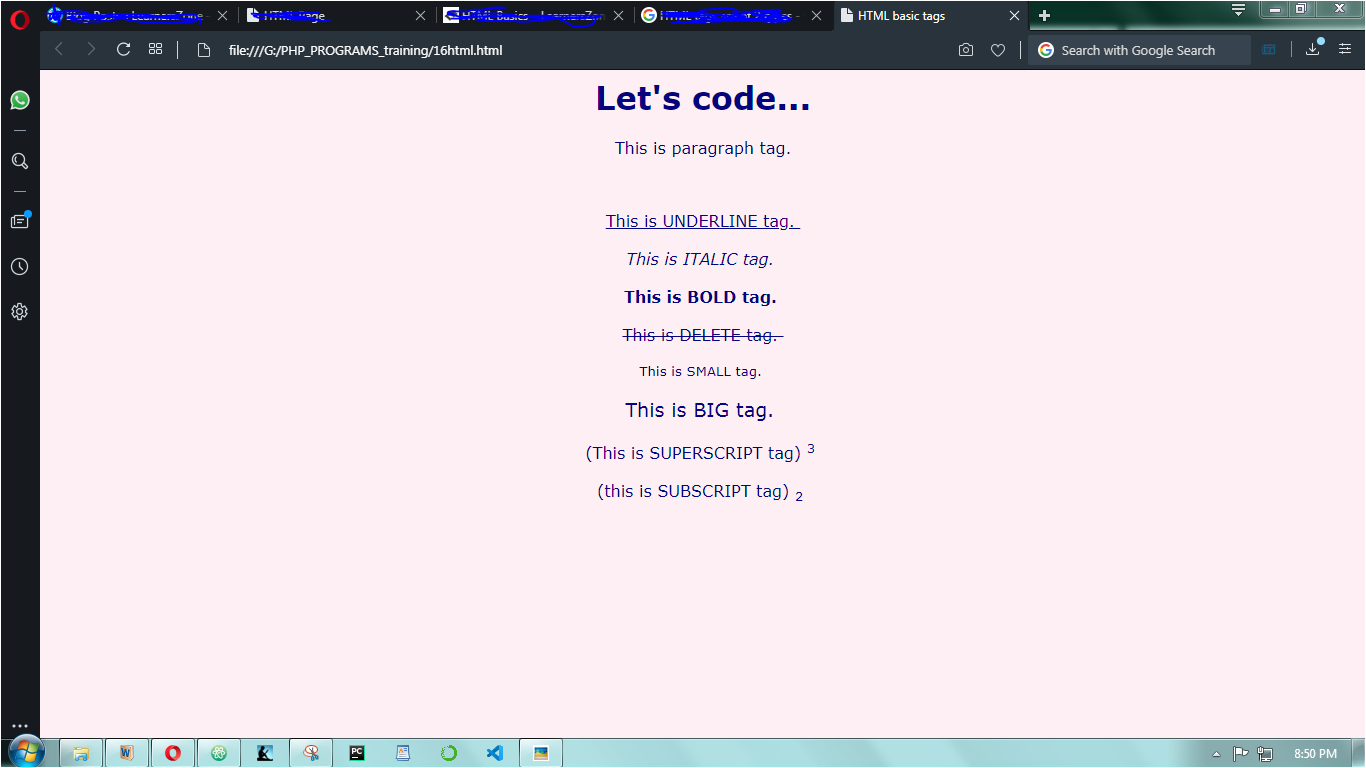
and here is its output-
TEXT FORMATTING
We can format our text using <font></font> tag. Remember this is a paired tag. I have used some of the font’s properties below like color, size, face, you can make some changes in this and see the result-
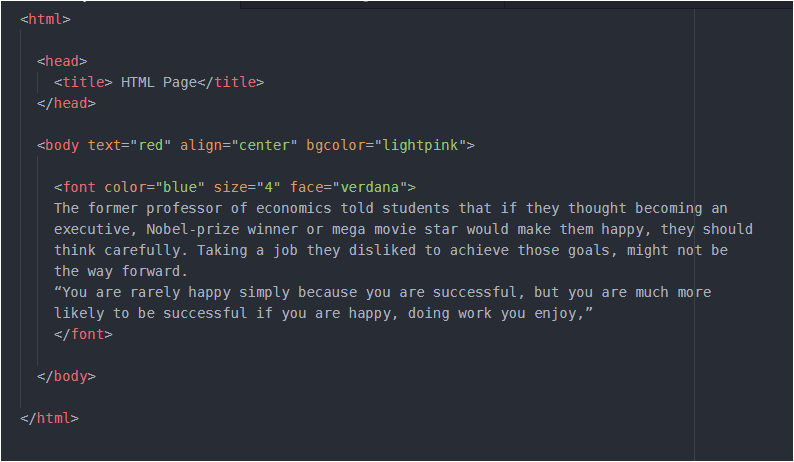
One important thing in above code, which you might also be thinking, is – we can select the color of text/content through text, which I have used inside <body> tag, then what is the need of color inside <font> tag and finally what will be the actual color of the content? Blue or red…
Okay, so through <font> we have the choice to change the color of each paragraph, (even) of each line also. (even we can format all the paragraphs differently). This can be done by inserting <font></font> before the line/paragraph which you want to format. Try it yourself and in case you face any problem, comment your problem here and I will give you the proper solution. Never hesitate, after all we are here to learn not hesitate.
And the property inserted at the is always implemented. So, the ‘blue’ color will override ‘red’, and finally text will be blue. The size used above ranges from 1 to 6 and by default it is 3.
IMAGE IN A WEB PAGE
<img src= " " > We have seen how we can insert background image, we can also insert image in the page. Background images cover whole area of screen and we can write any piece of content in it since the whole page is covered with that image. But when we insert image(I am not talking about background image) in a web page, remember that it occupies its space and we cannot over them.The content will be shifted somewhere in the empty space of the screen. Let’s see how we can insert image, and some of its properties –

I have used my image named as “wallpaper”, you should use yours. But remember that it is saved in same folder in which your HTML file is saved. Try changing width and height. Here, alt is for ‘alternative text’. Imagine if your image is not displayed due to some reason, then this text will appear in place of image. border is used to border the image. By default the color of border is black, but you can change by writing text=”pink” inside <body> tag. Try it Yourself.
In order to bring image or anything in center, place that image/anything within <center></center> tag. Got confused somewhat, look below…

Remember, <img> is a singular tag since it has no closing tag, while <center></center> is paired tag.
LIST
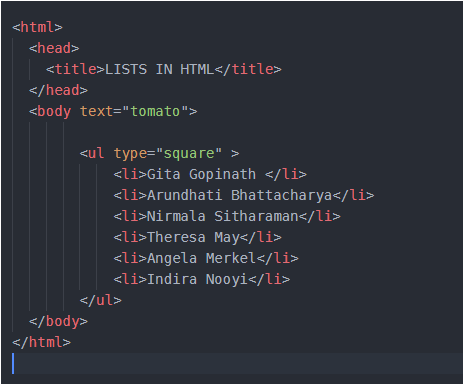
<ul> stands for unordered list and <li> for list item. Both are paired tags. The type property is ‘bullets’ by default but I have set it to ‘square‘. Run the code and see the result.
Following is shown an ordered list-
<ol> lists the item with numbering from 1 or from “A” or “a” or even in roman numbers.

We need to change the type for different changes. We can write “a” for numbering in small letters, “i” or ‘I’ for numbering in roman. In above code start tells that numbering should start from 4th position of type. In above code ‘D’ lies in the 4th position of english alphabet, so numbering will start from D, E, F… and so on. Please change the value of type and start and run your code for different different values.
If from any list item, you want to change numbering, it’s possible. Suppose you want that list item 3,4, 5, 6 should be numbered from U,V,W,X instead of C,D,E,F., you can try this-

here, in list item 3rd I have used one property value = “20” and in English alphabet 20 is for ‘U’. So it means from list item 3rd onwards counting will be from U. The value of start, value depends on the type used.
Definition List
This is used to describe some term with its proper term and definition.
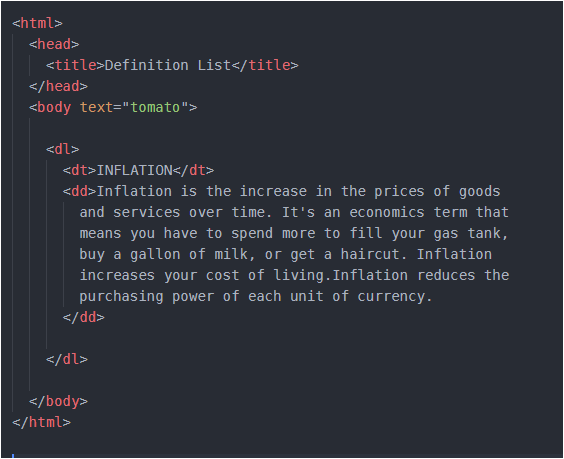
Here <dl> is for definition list, <dt> is for definition term , <dd> is definition description. I wanted to describe the term ‘Inflation’ so I placed it inside <dt> and its definition inside <dd>. You may add more terms and see its output. Try it Yourself.
Navigation
Navigation is done using hyperlinks. These hyperlinks are those images/icons/text in web page upon clicking which you navigate to a completely different page. And this is done through <a> anchor tag.
Remember the text formatting code we wrote before. Scroll above and first look at it. Got it… Now suppose in that, I want to add a link upon clicking which I should jump/navigate to my inflation web page.
First, look at the code below and then i will explain the things further-
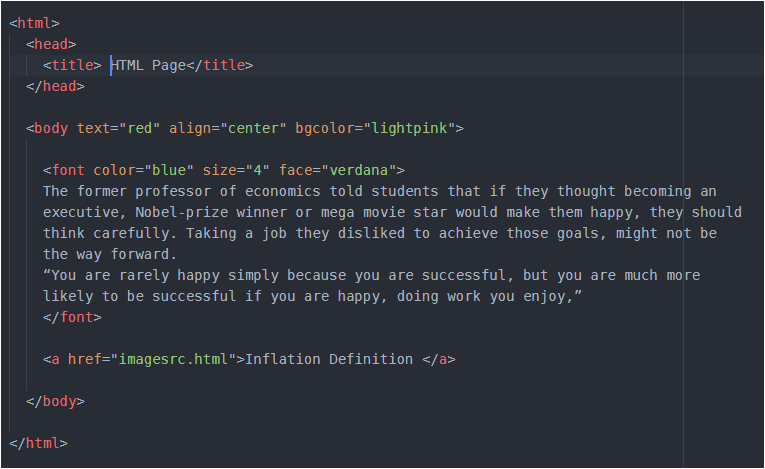
The above code is same that we wrote during text formatting. Here look at the last line, I have used <a> to create a link to Inflation webpage and that Inflation web page’s html file should be placed in same folder. I have saved my Inflation html file with the name- ‘imagesrc.html’ so I have used it, but you will have different name, so place it here carefully. We can give that link a name, look that I have given it as ‘Inflation Definition’ between anchor tags.You may give it any name. Now as you will run your code in browser you will see a blue link with the same name which you gave, click on it and you will see that you are navigating to your definition’s page.
Instead of this text ‘Inflation Definition’ as link to other page, I can set my image as a link to other web page. So, it’s quite easy
Look at code below –
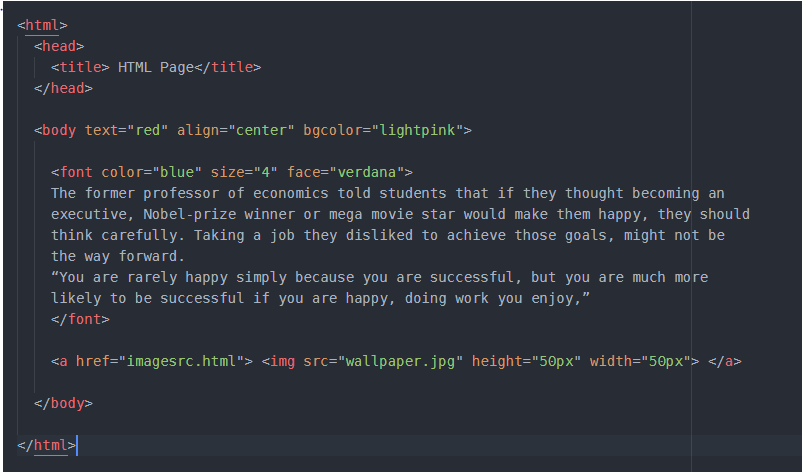
Look, I have only added my image named ‘wallpaper’ in between <a></a> anchor tags using <img> tag.
If you are having any difficulty, share your problem here in comments. I will look for solution.

2 thoughts on “HTML continued…(1)”